

Aerial Survey of Rondout and Neversink Reservoirs
I recently conducted an aerial survey of two of New York’s key water supply reservoirs—Rondout and Neversink—using a DJI Mini …

Aerial Mapping: Treehouse Brewing
Collection of survey images taken 6/20/24, 7/3/24, and 7/30/24 of the Saratoga Treehouse location currently under construction. Use the layer …
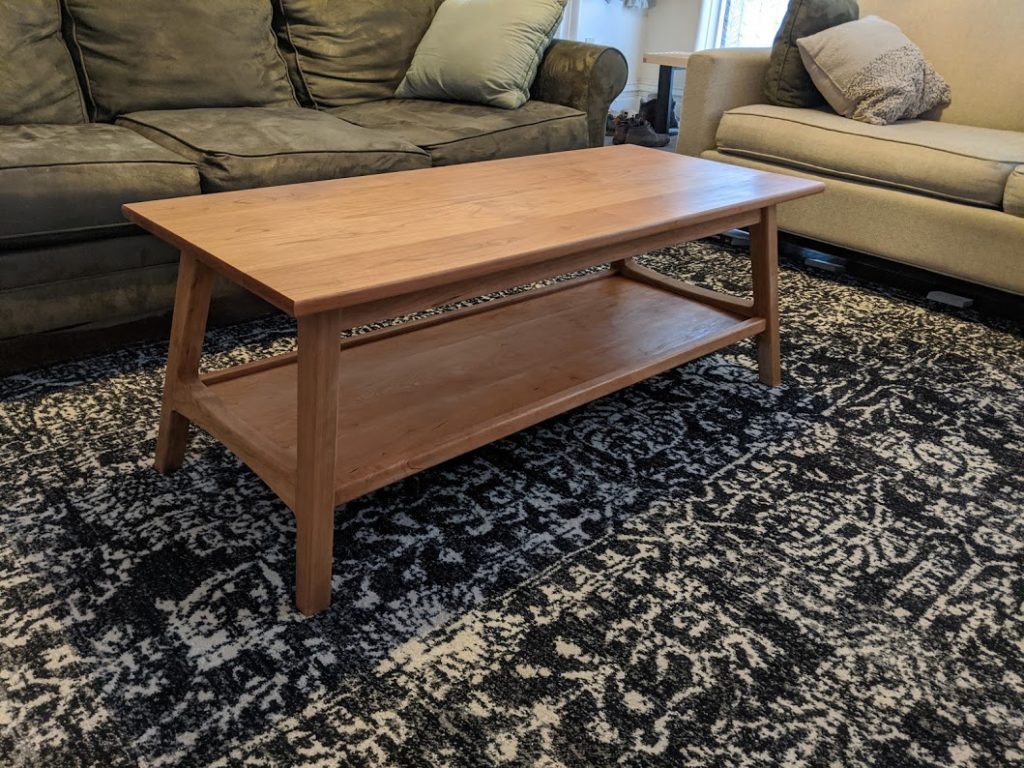
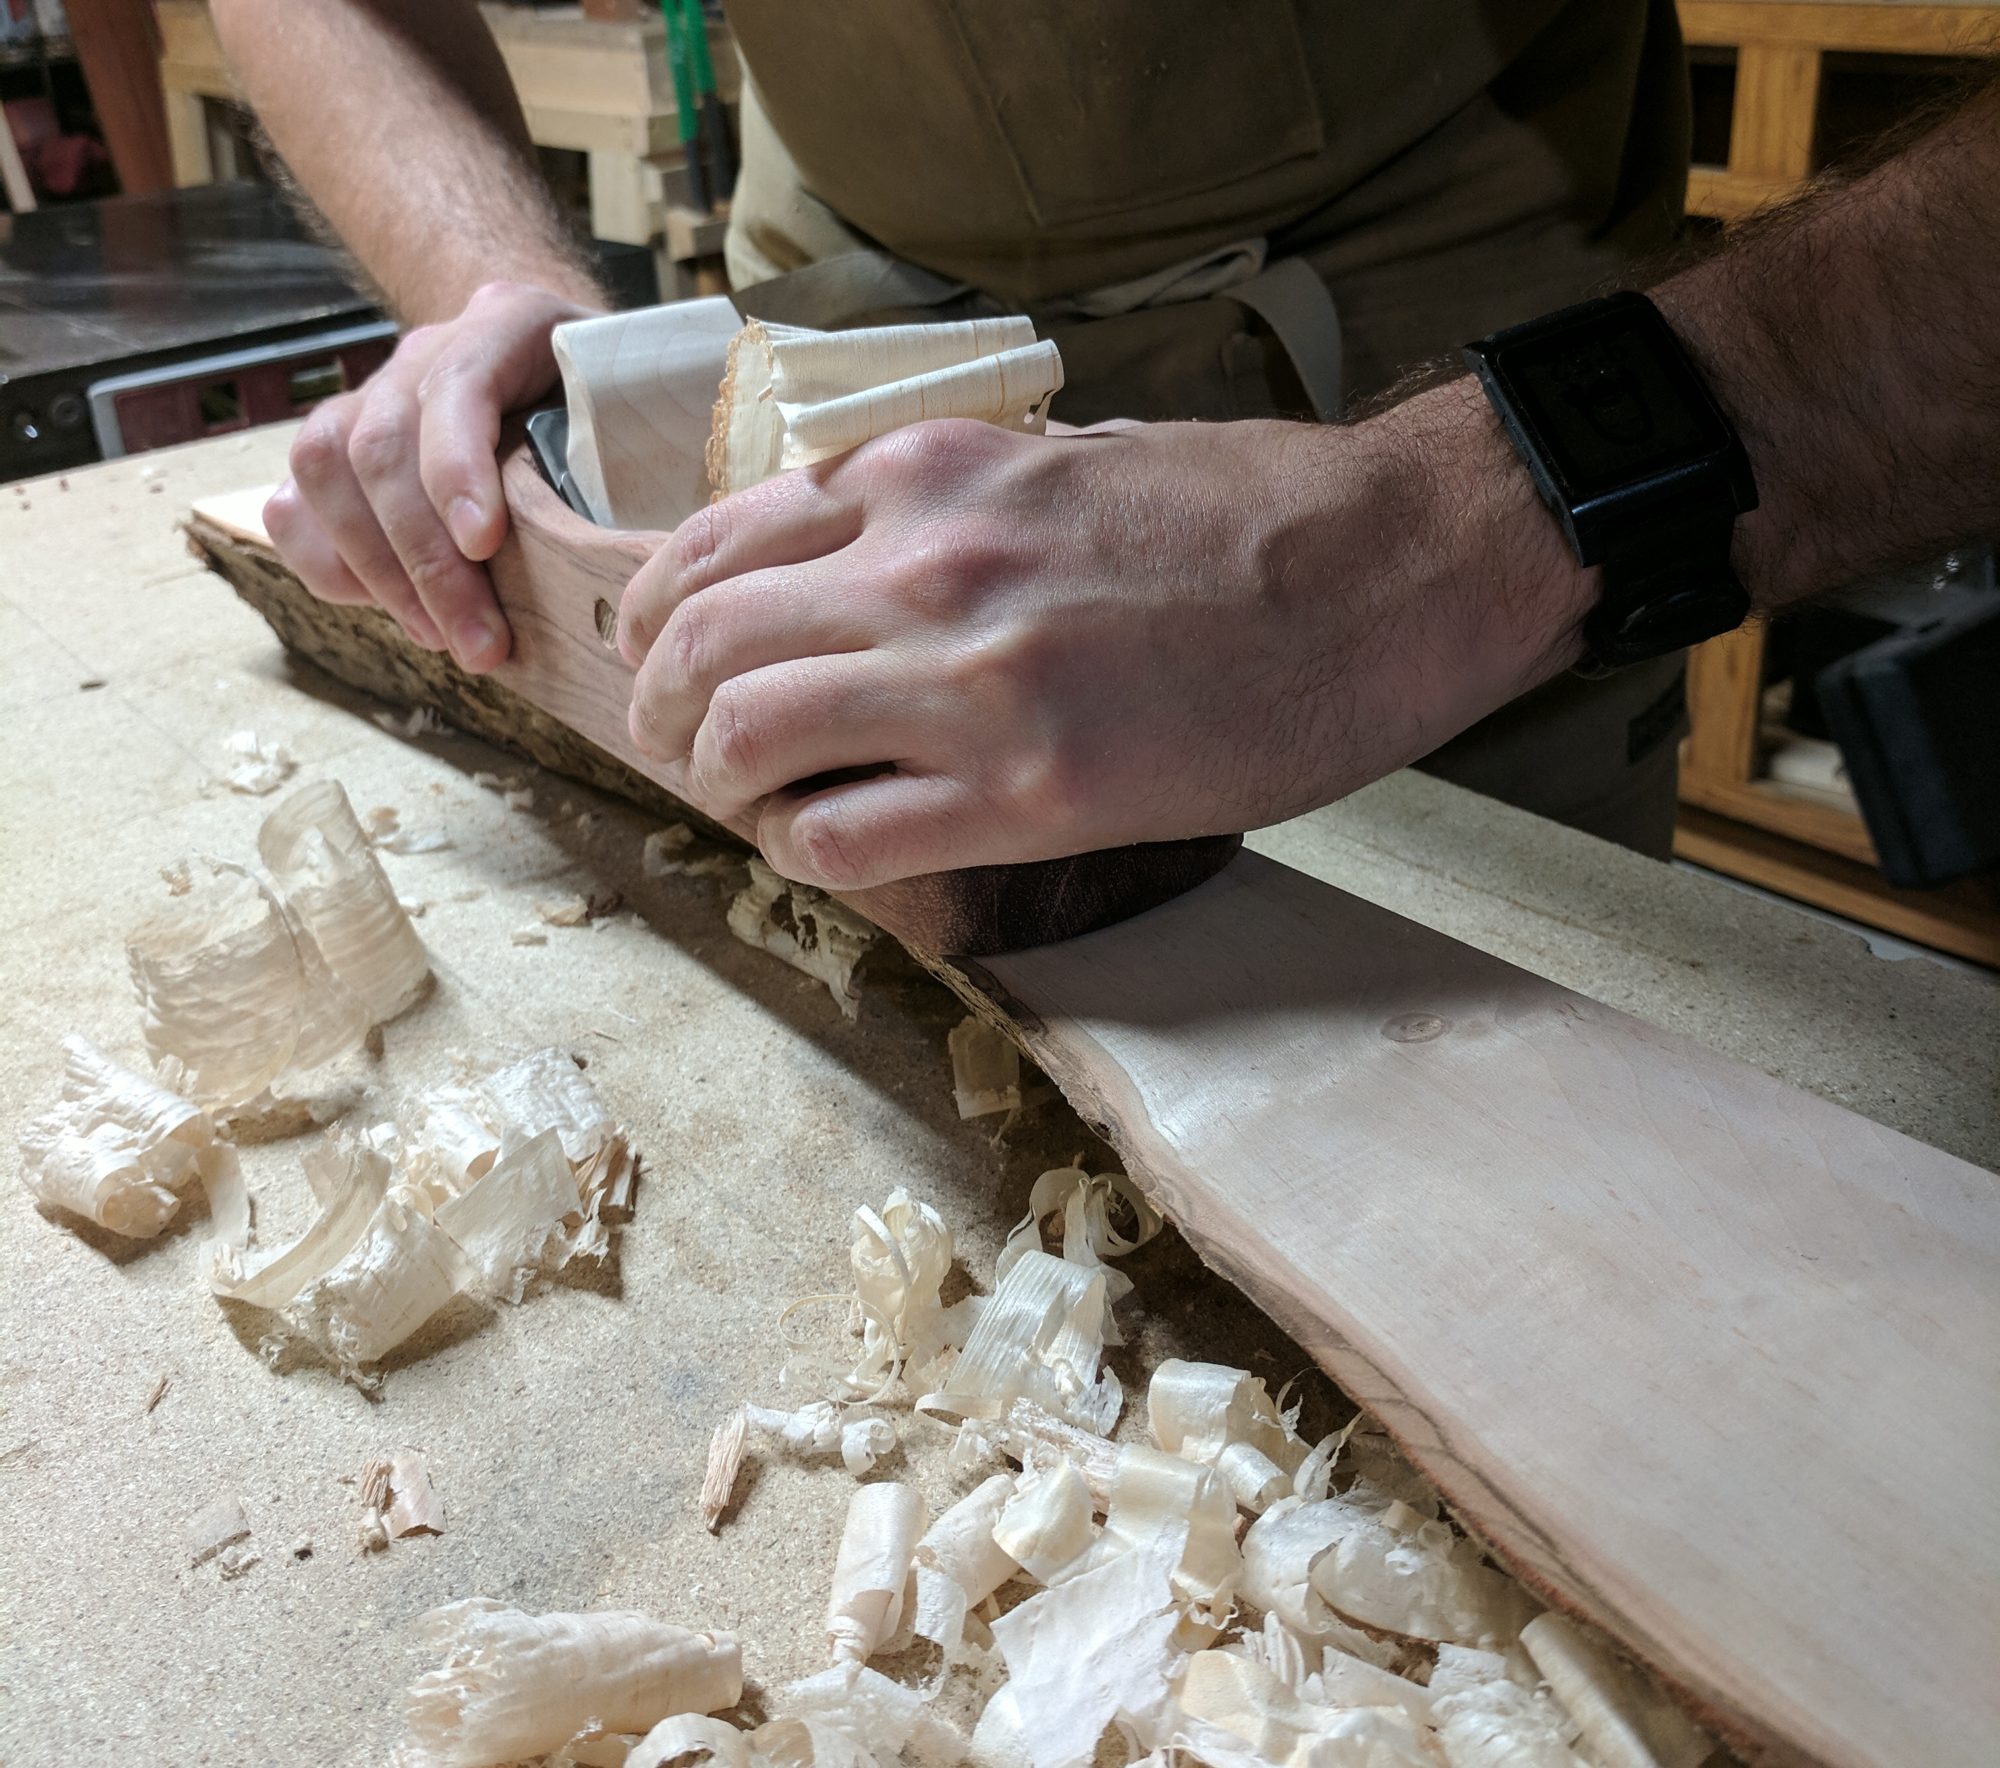
New Coffee Table
I decided to make a build video for my latest piece of furniture . I shot all the video on …
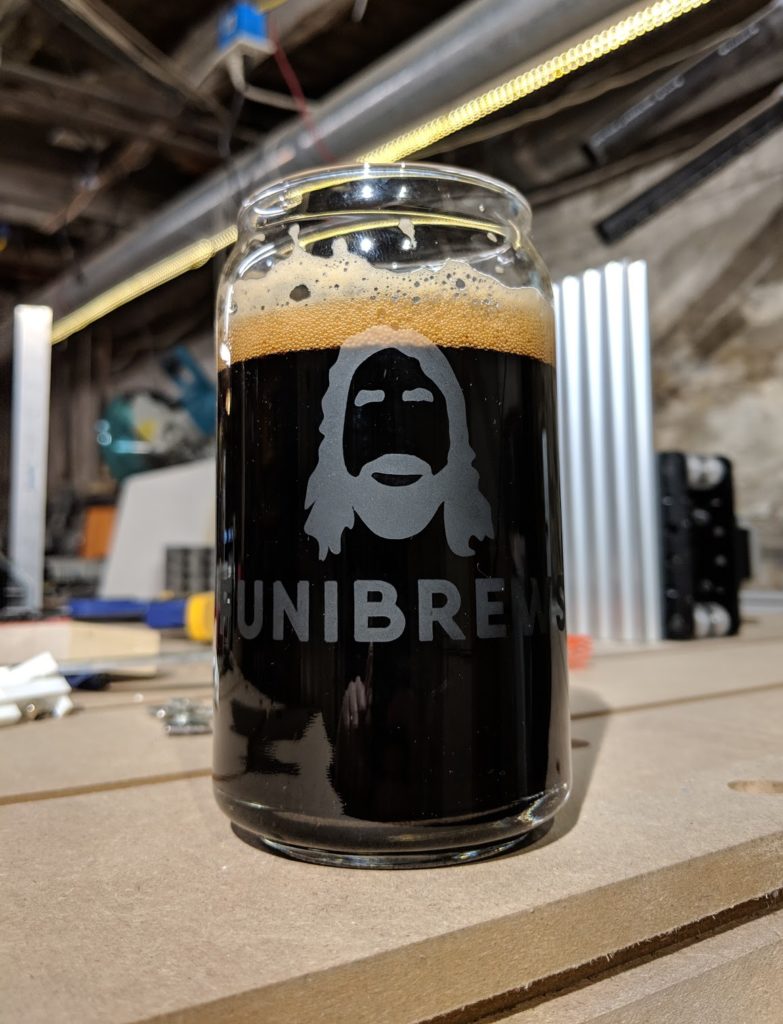
Glycol Chiller Unit
Some of you may know from my second Instagram account (@funibrews) that I have been brewing lots of beer this …