Some of you may know from my second Instagram account (@funibrews) that I have been brewing lots of beer this past year. That hobby has spawned a number of interesting projects that I decided to share.
The Chilling Issue
During the fermentation phase of brewing, temperature influences the flavors created by the yeast. Traditionally classic beer styles were brewed seasonally, exploiting the ambient temperatures and were very dependent on the region. For a home brewer looking to brew a variety of beers year round this can be very limiting.
Keeping your beer warm is easy, as electric heating pads are cheap and easy to operate (I’m using the FermWrap). Additionally the yeast digestion is exothermic, and will generate its own heat during peak fermentation.
On the cooling side, home brewers can either control the environment temperature, or try to control the beer temperature directly.
On the environment side, the common option is a refrigerator dedicated to fermenting. By controlling a refrigerator to run at fermentation temperatures you can influence the beer temperature. This method doesn’t work great with multiple fermenters however, as each might be at different temperatures depending on their stage of fermentation.
The direct beer temperature control option uses a coil in, or jacket on, the fermenter to circulate coolant to shed heat from the beer. On the home brew side, ice water is typically used as a coolant, as its cheap. Ice requires maintenance however, as it will melt and warm over time.
The professional option is a glycol chiller unit that runs a refrigeration cycle to maintain the temperature of a coolant. These coolers have started to pop up on the homebrew scene, but cost over one thousand dollars…. this is where my homemade homebrew chiller comes in.
In this article I will cover just the glycol unit side of my build, not the integration with the fermentor. Stay tuned for a future article on that build!
The Build
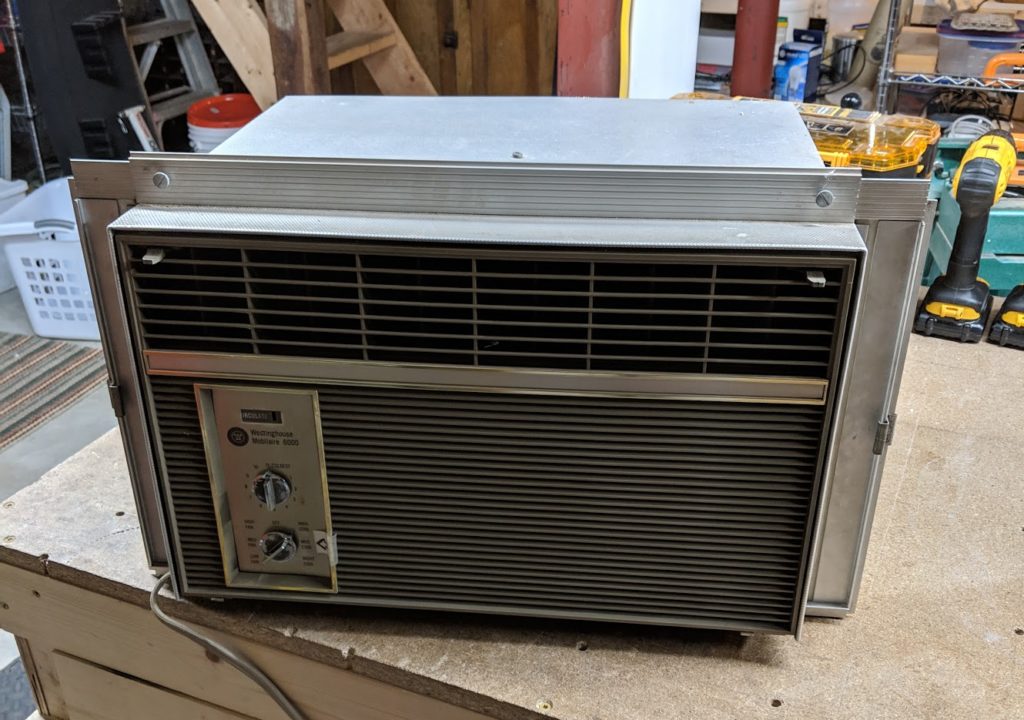
For the refrigeration unit, I sourced an old 6,000 Btu/hr air conditioner. I found an old one no one was using, so it was free (lets hope it lasts).
An AC works with a vapor compression/expansion cycle, meaning a compressor runs, causing heating of the refrigerant on one side of the unit, and then the refrigerant expands through a valve causing the opposite side of the unit to get cold. There are two fans, one to cool the hot side, and one to blow air into the house through the cold side. For my application, I wanted the cold side to cool my glycol but still needed the hot side to shed heat.
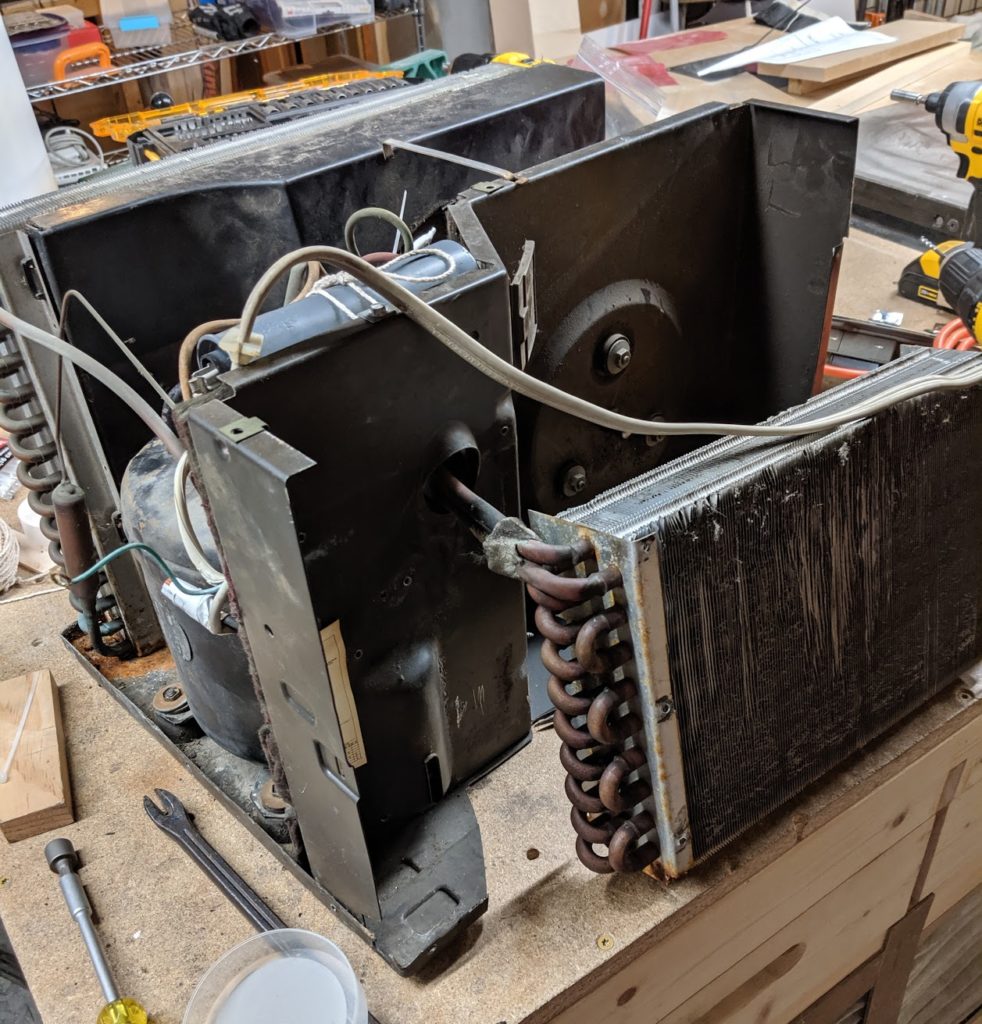
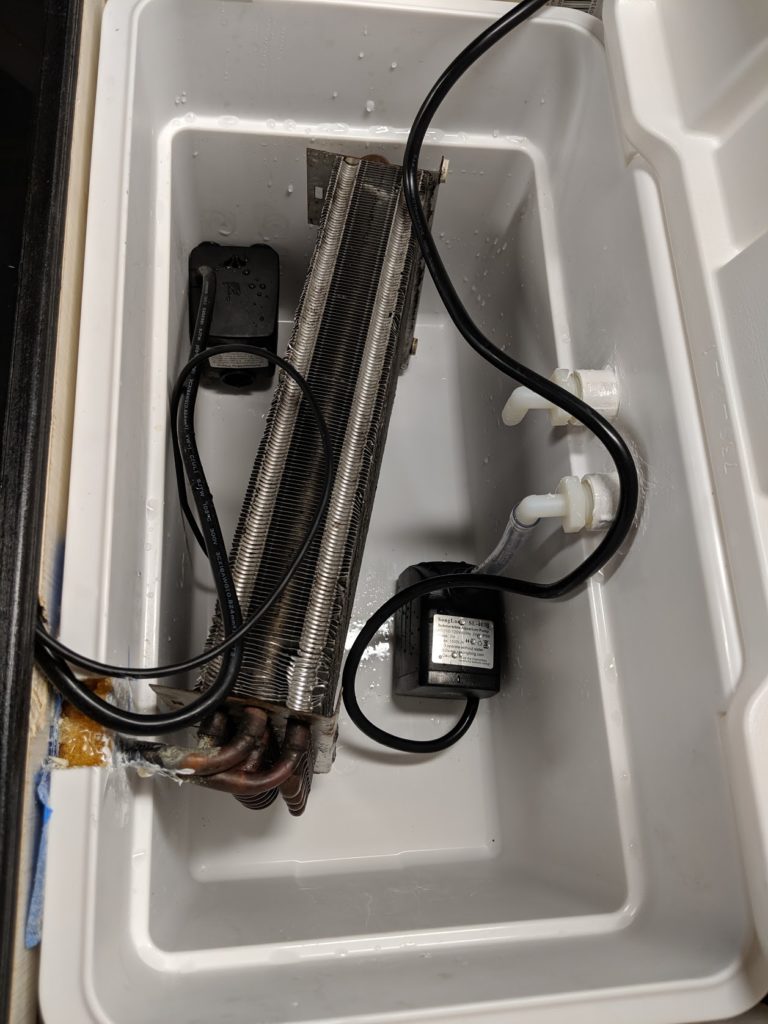
The cold side fan was removed, but the hot side fan was left in place. The cold side heat exchanger was moved out to the limits of its plumbing for better access. Most of the old AC housing was removed, leaving only what was needed to support the components still in use.
I searched for a while to find the perfect sized glycol reservoir. I ended up going with a very basic Coleman cooler to hold the glycol and keep it insulated. It holds a bit over 4 gallons.
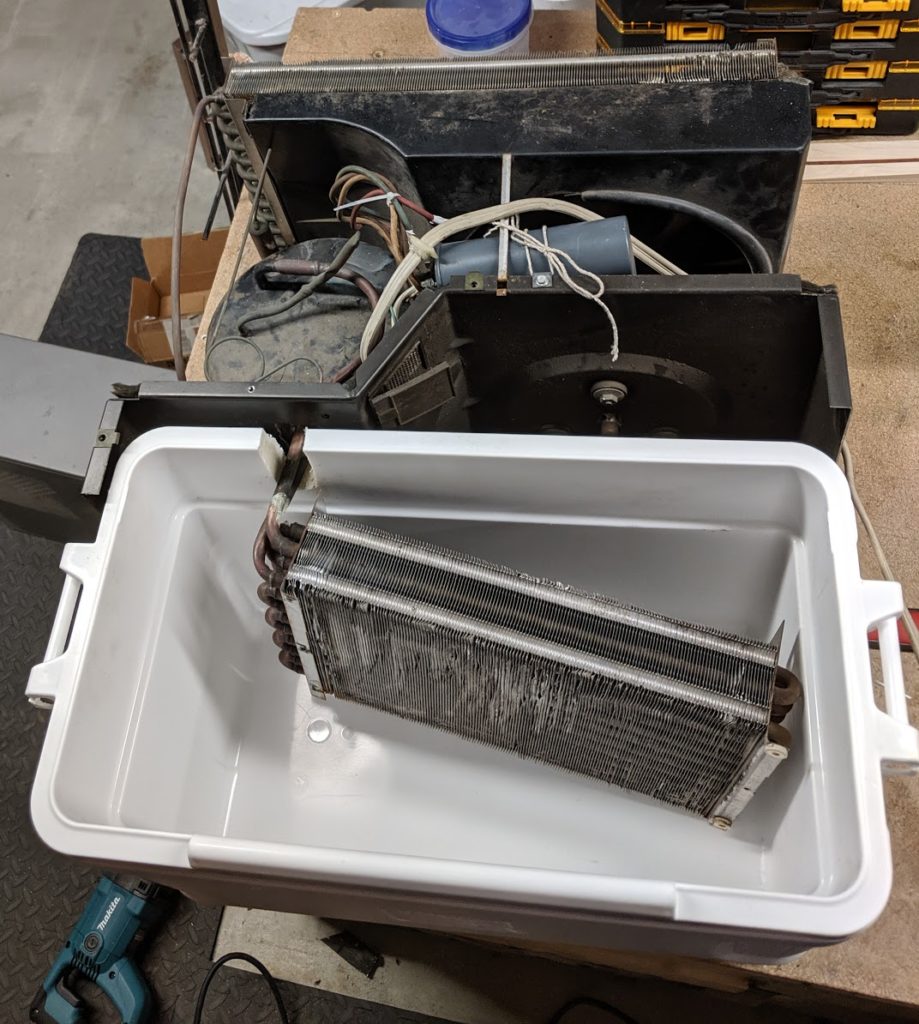
The cooler was cut to allow clearance for the AC plumbing. I chose a cooler that had a similar footprint as the AC.
To keep everything together, I built a wooden frame with coaster wheels.

After mounting everything, I built a frame to protect both the unit, and the operator. The frame needed to allow for airflow on the hot side, to let air out through the heat exchanger.
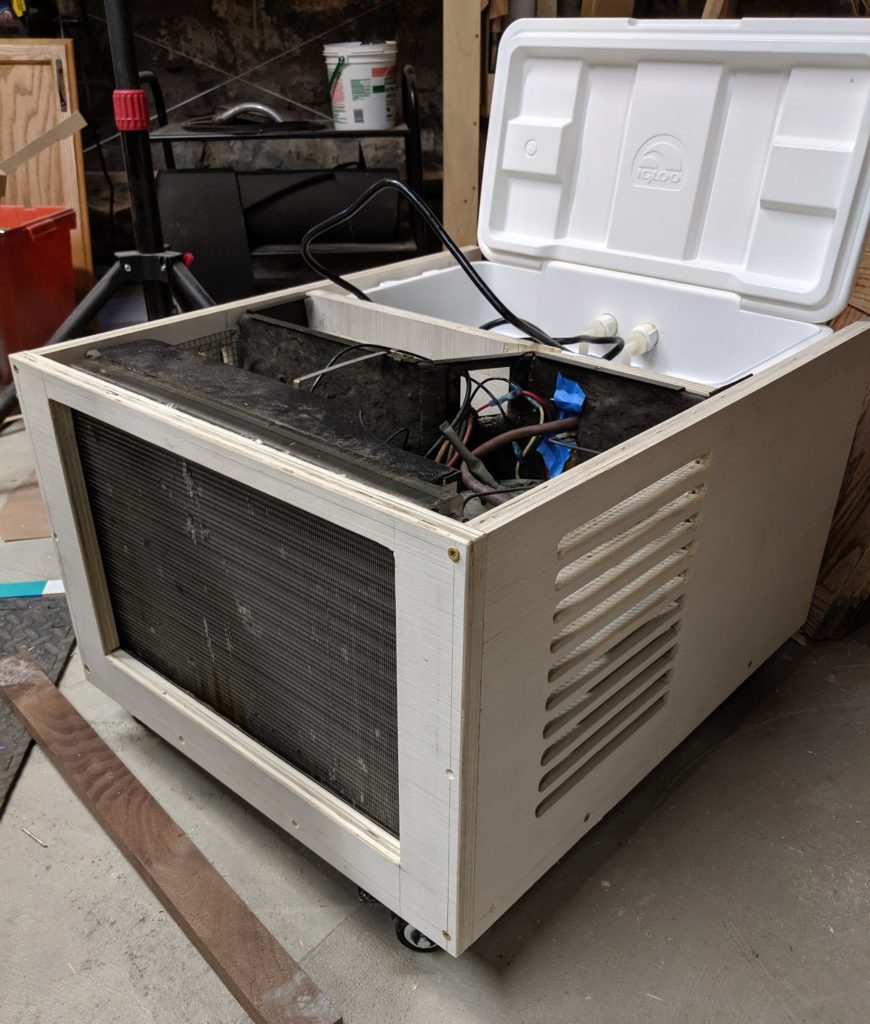
The vent holes ended up being large enough to fit fingers through, so chicken wire was added to make it safer.
On the electronics side, an air conditioner typically uses a basic thermostat control mounted in the unit. I needed a probe that could be moved into the glycol tank. I went with a custom control using an Arduino. To make the new controller work I had to remove the existing AC controls, and wire the unit to be “always on” when powered up by the Arduino. All the old switches were cut out and the fan was permanently wired to “high”.
I also decided that it would be much more efficient if I circulated the glycol through the heat exchanger when the unit runs, so I took the time to wire that into the whole system. This meant that, in total, the system needed to control a fan, a pump, and the compressor, with the fan and compressor wired through a starting capacitor.
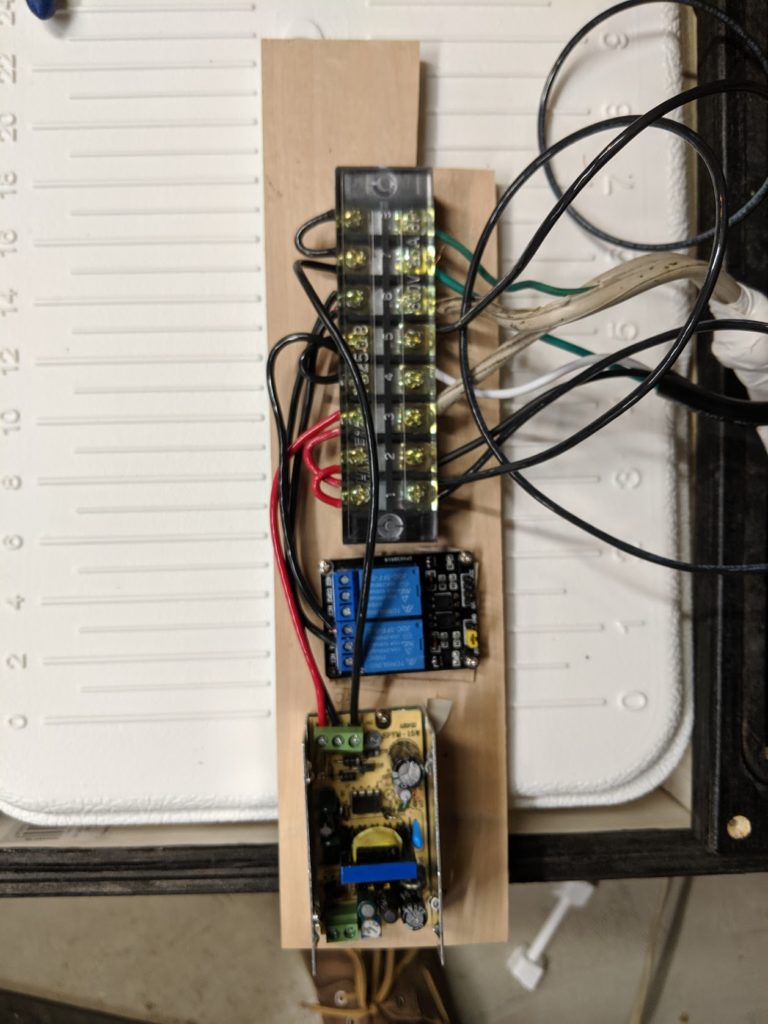
All the power wires were attached to a bus, with the relay and the power supply for the Arduino.
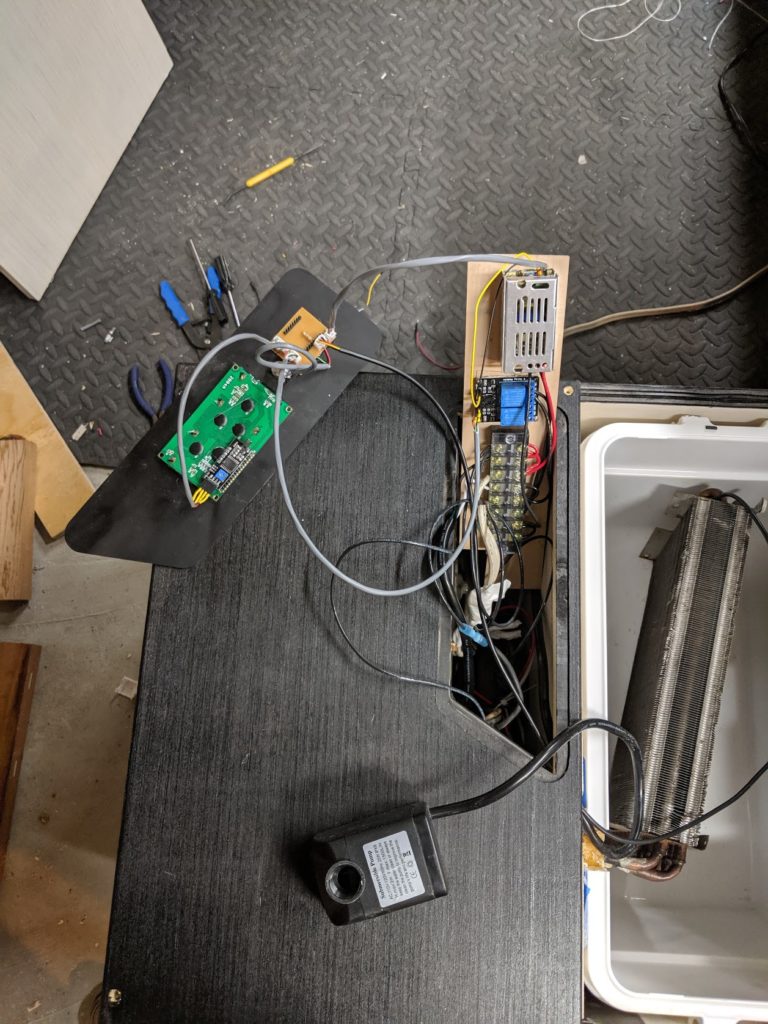
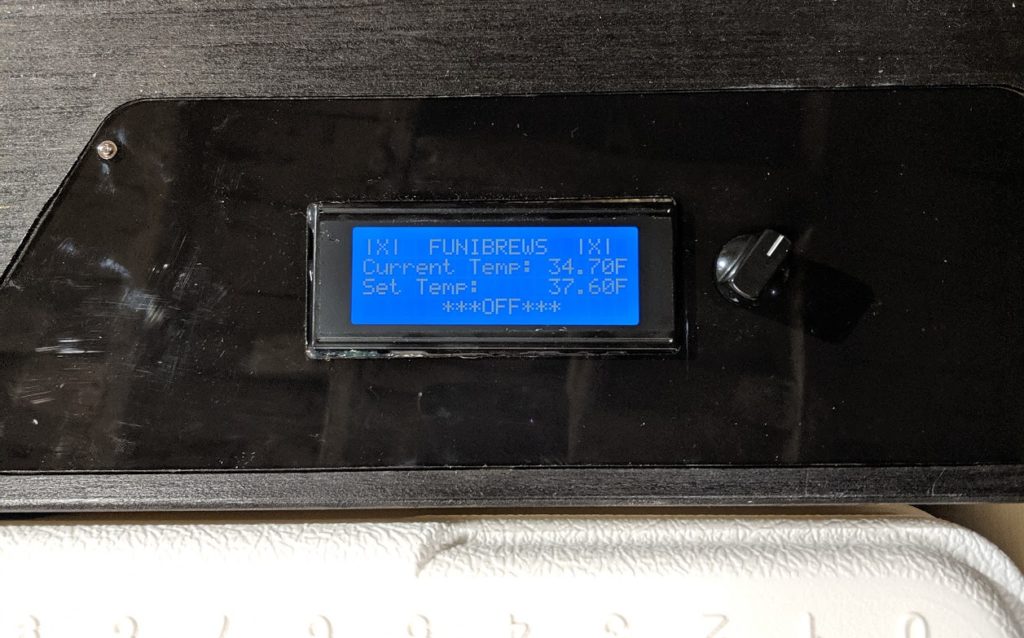
On the controller, a screen was added so I could interact with the temperature settings. The housing of the unit was cut to add a window for the display screen. A basic analogue knob was also mounted to serve as the only control.
With everything wired up, I worked on the code side of things. The code ended up being very basic, reading the value of the knob, and mapping it to a range of 0-50F. The system polls a 1-Wire temperature probe and the knob position every 10 seconds. If the value of the temperature probe raises above the set temperature (plus a small buffer zone), the unit activates the attached relay, until the temperature falls to below a set buffer below the temperature setting. Feel free to email me if you are working on your own and want the code.
To get the glycol out of the unit, barb fittings were added. Eventually, I’ll add more barns so that it can control more than one fermenter at a time. For each pair of barb fittings, a pump is added to the reservoir.
I also built a temperature controller for the fermenter itself, that I will write a future article on. As a preview, here is everything in operation and running.
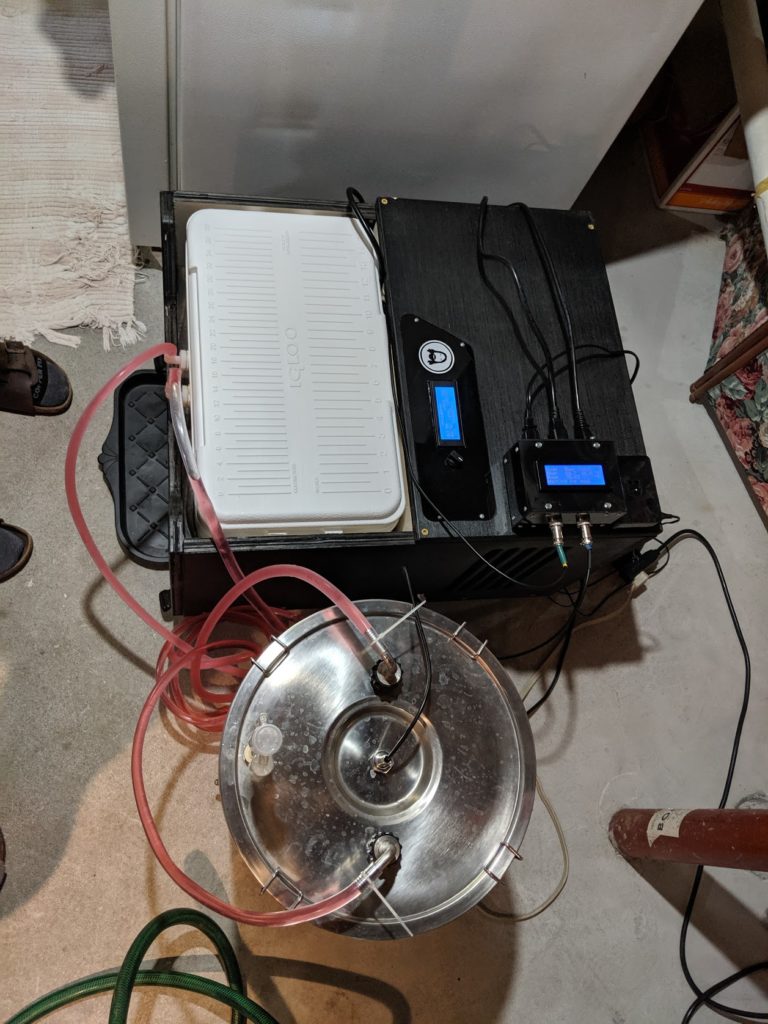
Stay tuned for details on the little black box temperature controller pictured above.